How to Groom a Maine Coon Cat: A Weekly Routine That Actually Works
The first grooming sessions with my Maine Coon taught me more about timing than about brushes. I would appear with a comb when he was wide awake and playful, then wonder why the whole thing turned into a wrestling match. Now I wait until the evening, when he has eaten, played and settled, and the same cat stretches out and lets me work.
That change in approach matters more than any product I have bought since. Grooming a Maine Coon is not difficult, but it is regular, and it punishes anyone who leaves it for a month. This guide sets out the routine that keeps my cat comfortable at home, in plain owner language and with no pretence that I am anything more than an enthusiast who has learned by doing.
What this coat actually asks of you
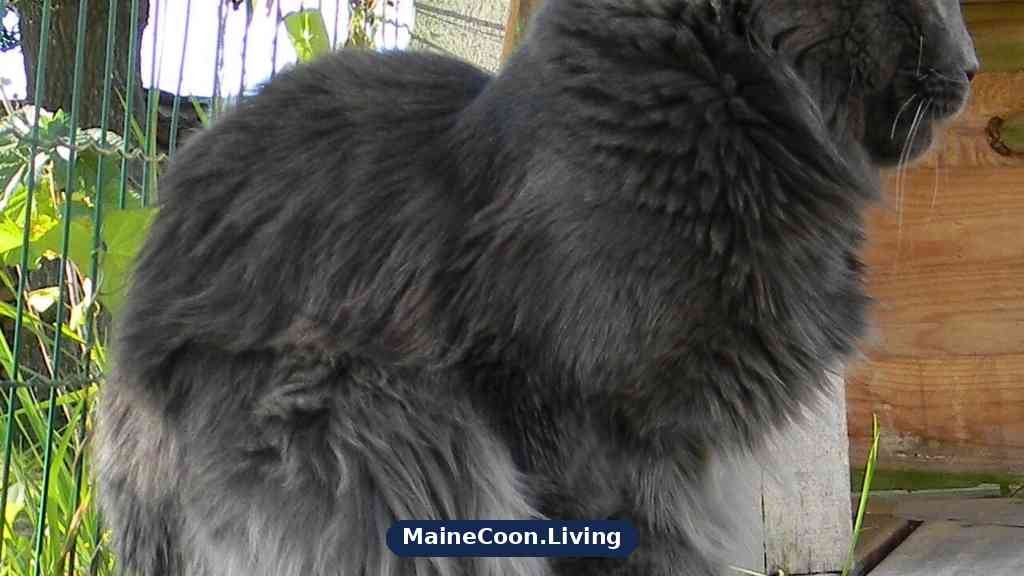
A Maine Coon coat has two jobs going on at once. Long guard hairs give the breed its shaggy outline, while a softer undercoat underneath provides warmth and bulk. The undercoat is the part that tangles, packs down and eventually forms mats if loose fur is left sitting in it.
The silky texture helps a little, because Maine Coon fur mats less readily than the cottony coat of some other long haired breeds. It does not help enough to skip grooming altogether. A week of neglect is easy to fix, while a month of neglect can turn into a painful problem that needs professional help.
The tools worth owning
You need fewer tools than the pet shop shelf suggests. My core kit is a stainless steel comb with wide teeth at one end and fine teeth at the other, a slicker brush with gentle pins, and a small mat splitter for knots that will not tease apart. That trio handles almost every weekly session in our house.
Add blunt ended scissors for the sanitary trim, cat nail clippers, cotton wool pads and a vet approved ear cleaner. Treats belong in the kit too, ideally something small and strongly scented that your cat only gets during grooming. I compared the main brush types in more depth in my guide to the best brush for a Maine Coon, if you are still choosing.
- A steel comb with wide and fine teeth, for checking and finishing
- A slicker brush, for lifting out loose undercoat
- A mat splitter or dematting tool, for knots that resist the comb
- Blunt ended scissors, kept only for trimming around the rear
- Cat nail clippers and styptic powder, for the odd nick
- Cotton wool pads and ear cleaner, for the weekly ear check
Tools to treat with caution include harsh deshedding blades used too often, which can cut guard hairs and thin the coat unevenly. Fine for an occasional pass, they are not a substitute for a comb. If a tool makes your cat flinch on a tangle free area, it is the wrong tool or you are pressing too hard.
Setting up a session that ends well
Pick one place and stick with it, whether that is the sofa, a rug or a table with a non slip mat. My cat knows the blanket I use, and he often settles on it before I have even fetched the comb. Familiar smells and a familiar surface remove half the suspicion before you start.
Keep sessions short at first, even if that means finishing only one side. Ending while the cat is still relaxed teaches them that grooming stops before it becomes annoying. A cat who trusts that the session will end is a cat who comes back for the next one.
A weekly rhythm that fits real life
Our routine has a simple shape that rarely changes. One full comb through each week covers the whole coat, ears are checked at the same time, and nails are trimmed every 2 to 3 weeks. The sanitary trim happens roughly once a month, or sooner if anything gets caught in the fur around the rear.
- Weekly: full comb through, ear check, quick look at eyes and rear
- Every 2 to 3 weeks: nail trim, one paw at a time if needed
- Monthly: sanitary trim and a closer look at the tail and trousers
- Spring and autumn: comb throughs every 2 to 3 days during the coat change
I keep the kit in one pouch so the routine never starts with a hunt through drawers. Ten to fifteen calm minutes is usually enough when the coat has been kept up weekly. Long sessions in our house almost always mean I skipped a week and am paying for it.
The comb through, step by step
Start where your cat likes it
Begin at the cheeks, chin and neck, where most cats enjoy being touched. A few easy strokes there settle the cat and tell you what mood you are working with. If the ears go back and the tail starts thumping at this stage, postpone the rest rather than forcing a full session.
Move on to the back and sides, combing in the direction the fur grows. Use the wide teeth first and keep your strokes slow and shallow. You are looking for resistance, not trying to strip out as much fur as possible in one pass.
Work in sections, not sweeps
Divide the coat into rough sections: neck and chest, back, each side, belly, legs and tail. Lifting the top layer with one hand lets the comb reach the undercoat near the skin, which is where trouble starts. A comb that glides over the surface can hide a felted patch underneath, so get your fingers into the coat as you go.
When the wide teeth pass freely, switch to the fine teeth as a check. Anywhere the fine comb catches deserves another minute with the wide end and your fingers. Finish with a light slicker pass to lift out loose fur and smooth the coat.
Let the cat set the order for hard parts
I leave the belly and trousers until last, because they are the areas my cat guards most. By then he is relaxed, the treats have appeared, and the difficult work takes half the time. Some cats prefer the opposite order, getting the worst over first, and you will learn your own cat’s preference within a few sessions.
The trouble spots nobody warns you about
Armpits and behind the ears
The armpits are the first place mats form on my cat, every single time. Fur there is fine, the leg rubs against the body with every step, and a small tangle can felt into a tight knot within days. Run a finger through each armpit during the weekly comb through, even when the rest of the coat looks perfect.
Behind the ears comes a close second, helped by collars, scratching and sleep. The skin there is loose and delicate, so tease knots apart gently and never drag a slicker across the area. A minute of prevention here saves the most stressful dematting job on the whole cat.
The belly
Belly fur is soft, warm and quick to tangle, and the belly itself is where many cats least like being handled. I comb it while my cat lies on his side, in short strokes, with one hand resting calmly on his shoulder. Asking a Maine Coon to roll over and hold still rarely ends the way owners hope.
Work in two or three short bursts with treats between them if your cat struggles. A half finished belly done kindly is better than a finished belly done by pinning the cat down. What you skip today can be finished tomorrow, because the routine comes round again every week.
Trousers and tail
The thick fur on the back legs, often called trousers or britches, collects loose undercoat like a brush. Comb it downwards in layers, holding the top layer up so the comb reaches the base. This is also where litter, leaves and garden debris hide after a trip outside.
The tail needs a gentler touch than its size suggests. Comb it in sections around the bone, never pulling straight down its length, and check the top of the tail base for greasiness. A waxy build up there, sometimes called stud tail, may need a vet’s advice if it keeps returning.
Removing mats safely
A mat is not just untidy fur. It pulls at the skin with every movement, traps moisture against the body and can hide redness or soreness underneath. That is why you should never cut straight into a mat that sits close to the skin, however careful you feel with scissors.
For a small, loose mat, hold its base firmly between finger and thumb so the skin stays still. Tease the outer edge apart with your fingers, then work the fine comb through the loosened strands a little at a time. A mat splitter can slice a stubborn knot into narrower strips, which then comb out far more easily.
Tight mats that feel like felt, mats pressed flat to the skin, and any mat that makes your cat cry out are stop points. A professional groomer can clip those out safely in minutes with the right blade and a second pair of hands. My wider Maine Coon care guide covers how grooming fits alongside feeding, litter and vet checks through the year.
Nails, ears and the sanitary trim
For nails, press the paw pad gently so the claw extends, then snip only the curved tip. On pale claws you can see the pink quick and stay well clear of it, while dark claws call for smaller cuts taken more often. If your cat only tolerates one paw per sitting, do one paw and count that as success.
Ears get a look, not a deep clean, each week. A little light wax is normal, while dark gritty debris, redness, swelling or a strong smell means a vet visit rather than more cleaning at home. For ordinary wax, dampen a cotton wool pad with ear cleaner, wipe the folds you can see, and never push anything into the ear canal.
The sanitary trim is unglamorous and genuinely kind. Shortening the fur around the rear with blunt ended scissors stops litter and worse from clinging to it, which matters most for kittens, older cats and any cat with an upset stomach.
Keep the blades flat against the fur, pointing away from the skin, and trim little and often. The ASPCA guide to cat grooming gives a useful overview of bathing, brushing and nail care basics if you want a second reference.
Bathing, shedding seasons and summer coats
Most Maine Coons do not need routine baths, and mine has had very few in his life. A damp cloth or a gentle wipe deals with most messes, and a full bath is reserved for something greasy, sticky or truly foul that will not comb out. Use lukewarm water and shampoo made for cats, rinse far longer than feels necessary, and dry the undercoat fully so it does not mat as it dries.
Twice a year the routine steps up when the winter coat comes out in spring and a new one grows in during autumn. Loose fur will appear on furniture, clothes and, in our house, in the kettle’s vicinity at least once. I explain what is normal in my piece on whether Maine Coons shed a lot, but the short answer is to comb more often rather than reaching for the clippers.
Shaving a healthy Maine Coon for summer is something I have never done and do not plan to do. The coat insulates in both directions, and clipping it can leave the regrowth patchy and the skin exposed to sun. Owners curious about clips for severe matting can read about the Maine Coon lion cut and why it belongs in the last resort category.
Teaching a cat to tolerate all this
Starting in kittenhood
Kittens learn the routine fastest when it arrives in tiny, pleasant pieces. Touch the paws during play, lift an ear flap while stroking, and let the kitten sniff each tool before it ever touches the coat. A few comb strokes followed by food teaches the lesson better than a full session ever could.
Keep kitten sessions to a minute or two and stop while things are still going well. By the time the adult coat comes in, with its thicker undercoat and real matting risk, the handling already feels ordinary. That early groundwork is the cheapest grooming investment you will ever make.
Winning over an adult cat
An adult cat who arrives hating brushes usually has a reason, often one painful dematting done too fast. Start again from zero, with the comb lying nearby during strokes and treats, and no grooming at all for the first few days. Then add two or three strokes in a favourite spot and stop.
Build by a few strokes a week and let the cat leave whenever they choose to. Chasing a cat with a brush teaches exactly the wrong lesson, and it teaches it quickly. In my experience most reluctant cats accept a short weekly comb within a month or two of this patient reset.
When to hand the job to someone else
There is no prize for struggling through a coat that has pelted over large areas. A groomer who works with cats, in a calm setting without dogs barking in the next bay, can restore a bad coat kindly and quickly. Ask how they handle frightened cats and walk away from anyone who talks about forcing a cat through it.
See your vet before the groomer if the coat has changed suddenly, the skin is sore, or your older cat has stopped grooming one side of the body. Pain, dental trouble, arthritis and several illnesses show up first as a neglected coat. Grooming keeps a healthy cat comfortable, but it should never be used to tidy over a symptom.
Frequently Asked Questions
How often should I groom my Maine Coon?
A thorough comb through once a week suits most Maine Coons for most of the year. During the spring and autumn coat changes, increase that to every 2 to 3 days. Add a quick check of the armpits, belly and trousers whenever you notice loose fur building up.
How do I remove a mat without hurting my cat?
Hold the base of the mat so the skin is not pulled, then tease it apart from the outer edge with your fingers or a comb. Work in tiny sections and stop for treats so the session stays calm. If the mat is tight against the skin or covers a large area, leave it for a professional groomer.
What should I do if my cat hates being brushed?
Shorten the session rather than pushing through, and start with the places your cat already enjoys, such as the cheeks and chin. Pair every few strokes with a treat and let the cat walk away when they have had enough. Tolerance usually grows over a few weeks when nothing painful happens.
Do Maine Coons need baths or shaving in summer?
Most Maine Coons do not need regular baths, and spot cleaning handles most messes. Their coat helps them regulate temperature, so shaving it off rarely helps and can change how it grows back. Bathe only for a genuine mess that cannot be combed or wiped away, using shampoo made for cats.
When should I book a professional groomer or see a vet?
Book a groomer when mats are tight, the coat has felted over a wide area, or your cat becomes too distressed at home. See a vet first if the coat changes suddenly, the skin looks sore or flaky, or the ears smell or hold dark debris. Coat problems sometimes point to pain, diet issues or illness that grooming alone cannot fix.